Sunday, December 30, 2012

Link Love 86!

As I was predicated there were less links this time, but I am going to share the link loves as usual!

When you get junk mail what do you do? Toss it in the garbage can? When you see the snowflakes created by Grow Creative you might think twice before throwing away junk mail! I think the bunch of colors and letters gives the snowflakes a more interesting look. I love them!

Melly Sews created this pretty pleated pouch. Her great tutorial on her blog made the process look so easy to do.

I know it is too late to make this for the New Year now, but I love this idea by Homework! We can make the tags for a countdown for other special days too such as birthdays or anniversaries? The use of glitter is perfect for simple tags and numbers. I love how she doesn't "overdo" on her projects.

Are you looking for some inspiration for your next quilt project? BGmom1 shared her colorful and modern quilt with us.

I actually never heard of the movie called "Moonrise Kingdom" before, but I certainly love what Skirt as Top created inspired by the film. She shares details of what patterns or what materials she used in her post. Her attention to detail is hands down the best!

Thank you everyone who participated for this link party. I hope you all will have a happy new year!

((hugs)) :) Sachiko

Thursday, December 27, 2012

Guest Post at Down East Home Blog

I am guest posting at the Down East Home and Clothing blog today. Please head over to their blog to see what I picked up at the store for Rachel, and the fun we had with our mini photo shoot.

Here is a sneak peek...


I will see you over at Down East Home & Clothing blog!

Wednesday, December 26, 2012

Link Party 86 and My Christmas Story

Hi everyone! How was your Christmas? I hope everyone had a wonderful time with your loved ones. I have been having a great time with my family. Also, I have been reading a lot and I am really having a hard time ripping myself from the books I got when I went to Japan. Remember the pile of books?

There were a bunch of things that went on the last couple of weeks between the Shopping, wrapping, cooking, cleaning and more wrapping... I will share a small part of my Christmas story.

T'was the night before Christmas... I was cooking like mad and Rachel needed some help writing a letter to Santa. As she was writing and drawing a really cute picture to Santa, she looked me up and asked, "Mom, is Santa real?"

I was caught off guard, but quickly regained my motherly smile and voice and asked, "Well, what makes you think he's not real?"

Right now, she is at the point that she believes and wants to believe that Santa is real, but there is a doubt (it started when one of her friends told her he is not real). She said, "I don't know... I know the tooth fairy is not real."

A couple months ago, she was in our office and found a letter she had written to the tooth fairy a while back. Mr. TRH was reading it and forgot to put it away. She found it and immediately asked if the tooth fairy was real. Mr. TRH made up an excuse but she didn't buy it.

Though she had a slight doubt about the existence of Santa, she dropped the subject and kept writing and drawing. I think she wanted to make sure her bases are covered for when Santa comes. She had her letter, picture, and the pile of banana bread slices with chocolate chips (the pile was getting smaller and smaller. I think I had some big mice in our house.... hmmm...).

I read them some Christmas stories, said goodnight and they went to bed...

Mr. TRH and I watched a movie after that then quietly carried all the gifts to the tree, laid them out and went to bed.

The next morning, I woke up to the sounds of kids giggling, talking, running, jumping, playing all over the house. They were nice enough to let us sleep till 8:30 or so, but Michael started losing patience (they were up since 4:45 am!). First it was a very quiet polite knock and "Hey, its morning, when are you going to wake up?" to "Hey, mom and dad, it's time to get up! I am gonna break down your door!" We chuckled a little and went downstairs.

They were SO excited and were basically bouncing off the walls.

It is truly a joy to watch the Children open up their presents. Their excitement, big smiles and the gratitude that we felt because we were able to afford to have Christmas was the ultimate gift to us as parents.

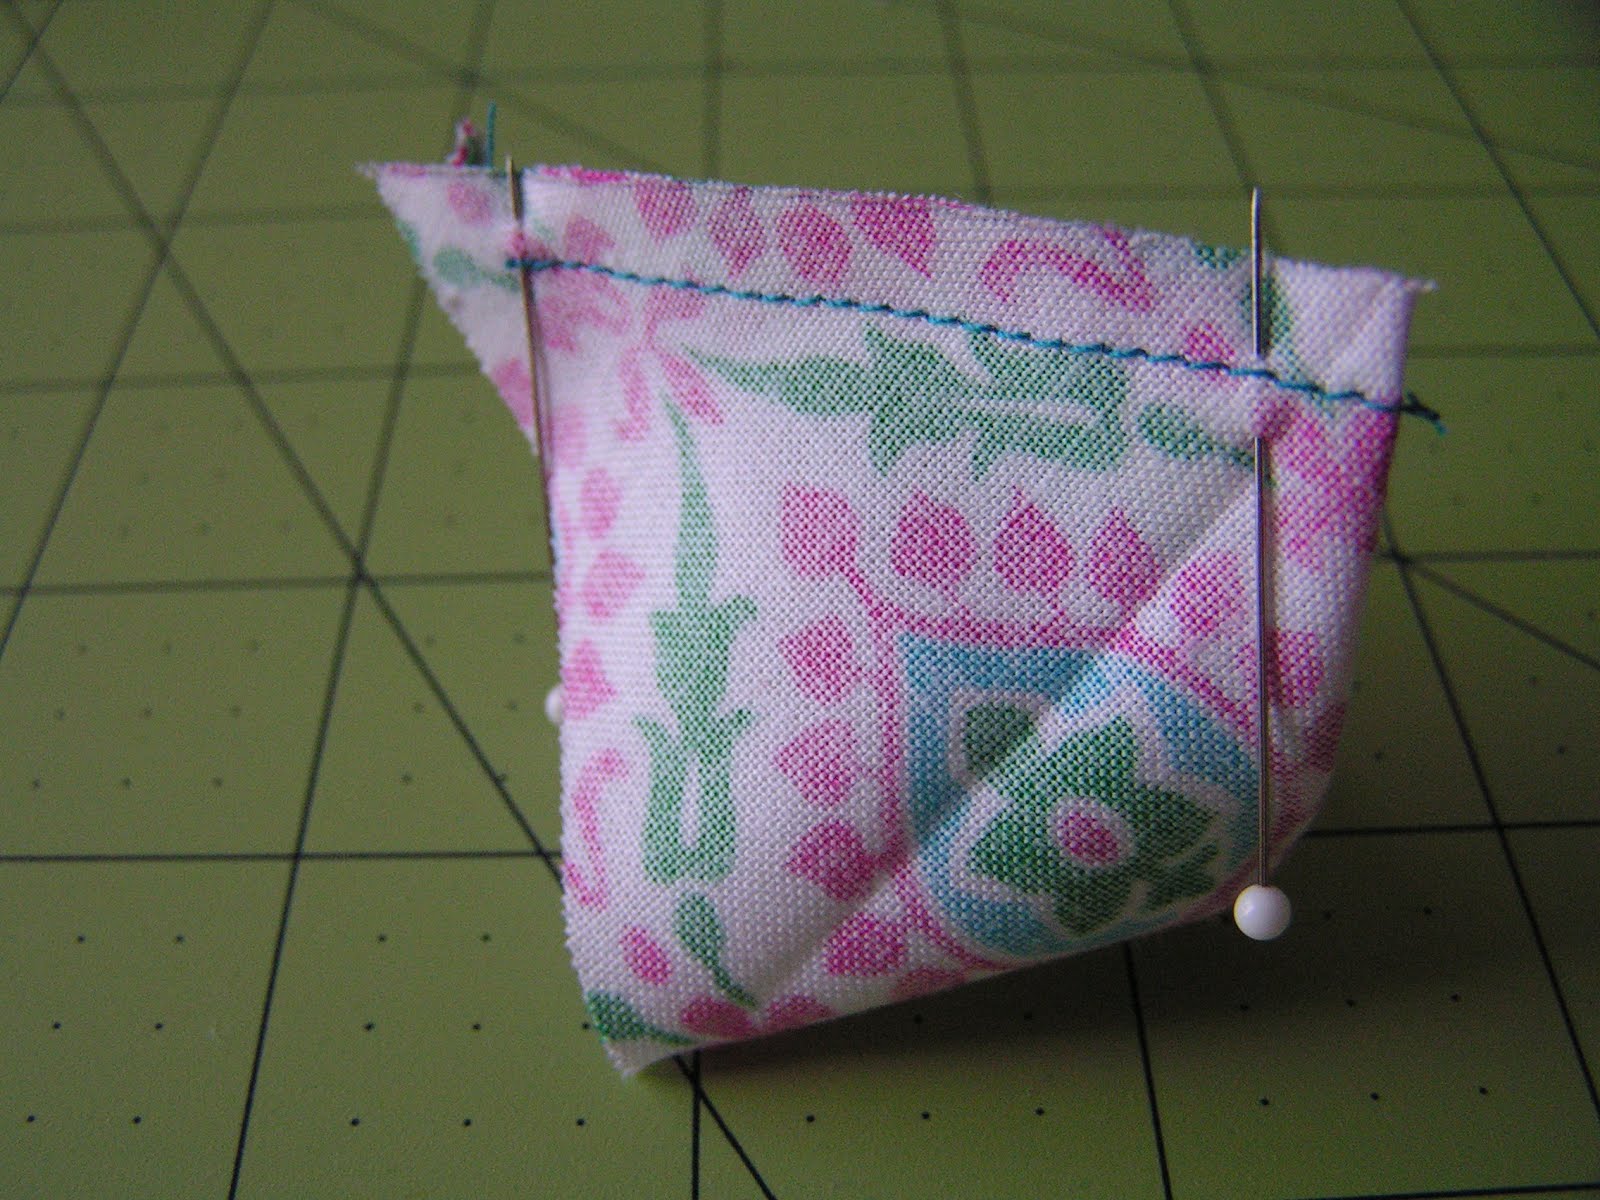
Well, on the other hand... it wouldn't hurt having tangible gifts too though (grin...), the gifts that Mr. TRH got and surprised me with were several feet for my sewing machine. They were totally unexpected, but much appreciated because not only were they are very useful gift to me; I felt like he is really paying attention to my interests and my needs.

I hope I can share several projects using those feet on my blog in the future. So, I don't even know how many people would actually link up this time with it being right after Christmas and all, but I am going to host the link party. If you have something to share, link up and have fun visiting other! :)

As usual here are the rules for linking:

1. Please post something YOU made. It doesn't matter if it is crochet, quilt, clothing, anything would be fine. I want to see it! If you use someone's idea or patterns please give them the rightful credit.

2. Link to your specific post, that way it is easier for everybody to find and read it.

3. Please grab the "Tea Rose Home" grab button, and link back from your post. If you can mention the party in your post or place the button on your side bar, that would be great! I want more people to have a chance to come and show off their creations.


That's it! Go ahead to link up and show us what you have been working on!


Friday, December 21, 2012

Tutorial~ Pattern Weight with Free PDF Pattern!

I have been playing with my Serger lately. So far I have altered some clothing and made a blanket with stretchy fabric. There were many clothing projects that I want to tackle as well, and I thought it will be nice to have more pattern weights when I am dealing with patterns. This will be a great gift idea for a seamstress friend too. Are you ready to make this with me?

{You will need}

Variety of fabric scraps (you will need at least 5"x 5")
Thread
Rice

{How to}

1. Print out the free PDF pattern I created and cut the triangle. Trace that onto fabric, then cut.

2. My secret to have crisp lines for the tetrahedron is to press the edges with an iron before you start sewing.

3. Bring tips A and B together with right side of the fabric and sew the seam.

4. Next, bring B and C together and sew the seam.

5. Then, sew the last seam half way.

6. Turn the fabric inside out, and stuff it with rice. To keep the shape more crisp I kept adding the rice as I was slip stitching the opening.

Now you have a pattern weight. :)

It is fun to make this whenever you have saved up scraps that you like. Though, it goes much quicker when you establish an assembly line. I cut all of them at once, sewed them at once, and while I was watching a movie with the kids, I was able to turn the fabric inside out, stuff them and slip stitch close the openings. This is especially effective when you are making these as a gift for someone in a hurry.

As a result, I made quite bit already in different colors and patterns...


I usually don't do PDFs, because I don't really know what I am doing, but I hope you guys will enjoy this free pattern as a small Christmas gift from me. Thank you all for always stopping by at my little corner in the blogland. I enjoy reading your comments and emails, and I appreciate them so much!

I hope you all will have a wonderful Christmas with your loved ones, very Merry Christmas!

xoxo

Sachiko

Tuesday, December 18, 2012

Life as We Know It

Allow me to share what has been on my mind lately...

Rachel has been sick since last Friday and so far she has missed three days of school. She has all the flu like symptoms, and a little over 100 temperature on and off.

You might think that I am a horrible mother for saying this but, I was a little bit annoyed... I couldn't help hearing a voice inside my head saying "OH, come on you need to get better soon! There are a BUUUNCH of things I need to do around the house, some Christmas shopping and wrapping before they start their Christmas break!"

But that thought quickly diminished when I heard about the shooting in Connecticut. I am sure that I am one of many mothers who held their children tighter that night.

I haven't watched or read whole a lot about the tragedy, because that will make me really upset; although, it has been on my mind a lot. My thoughts turn to the families who lost their loved ones, especially the parents who lost their children.

I cannot imagine the pain they are going through.

"Life as we know it" is a funny term. Most of the time, I think I am on autopilot; going through everyday life. I expect the same routine and somehow I think it will keep going on like this. But the truth is I don't know what is going to happen next. Accidents, illness or a horrible tragedy like this might blind side me.

Just like after the earthquake in Japan, this tragedy made me think a lot. Sometimes, I get so caught up with things or just to get things done, I feel like I am missing the point.

Are my priorities set right? Did I see my family off with a smile and hug? Am I spending quality time with my family? ...etc.

So, as I mentioned in the beginning I have been cooped up inside the home for a while with my sick child, but I am ok with it. I’ve read many books to her, we saw her favorite movie (for now) Princess Diary 1 and 2 many times together and are planning a mother & daughter day out when she gets better.

When Mr. TRH and the boys get home, the noise level inside our house goes from 2 to 10 and somehow gets messier all of a sudden. But it doesn't bother me too much. I found out that it is hard to get upset or irritated at people I am grateful to have in my life.

I still have some Christmas shopping and wrapping to do, but that can wait.

Monday, December 17, 2012

Tutorial ~ Square Scarf with Pom-poms

When I picked up the beautiful fabric by Amy Butler(Cameo Forget Me Not/Midnight)at Harmony, I knew I wanted to make a scarf. So I did. The fabric is 100% cotton; very soft, it is just like Tana Lawn from liberty.

After I share my tutorial, you will be amazed at how easy it is, you might wanna make a few.:)

{You will need}

1 yard of Fabric
Matching Thread
4 yard of Pom-poms

{How to}

1. I bought 1 yard of fabric, but I wanted to make my scarf square. So I cut off the side and made a 36"x 36" square.

2. Fold the edges. To avoid the corners from becoming bulky, snip the corners of the square...

Then fold the edges twice; 1/4" each time to make mitre corners.

3. Lay pom-pom trim on the folded seam and pin it in place. Use zig-zag stitches and sew all the way around the square.

Finished!

I feel like when you are woking with such beautiful fabric, you don't need to do much.

I sure enjoyed the new scarf. The color of turquois will be a great accent for much of my wordrobe.


Friday, December 14, 2012

Me at We All Sew

Hi! I am just checking in to say hi and let you know that one of my tutorials was featured at We all sew along with a few more tutorials from other bloggers today. If you are looking for an easy handmade christmas gift idea, you might like the post! :)

In the meantime, I am working on a couple easy projets to share with you. They are so simple to make, you can whip them up in no time before Christmas.

I hope you all are enjoying this holiday season, eventhgouh it can get a little crazy sometimes. Stay safe(there are many scary drivers around there!), stay warm and remember to breathe a little. :)

I will come back with a new tutorial soon!

Wednesday, December 12, 2012

Dollar Store Project / Eyeglass Case to Sewing Kit Case

I picked up an eyeglass case at the dollar store the other day with the intention of making this sewing kit case for my niece who started to show interest in sewing. I thought she would like something like this to carry around. :)

Because the eyeglass case you can find might be different size and all, I am not going to give measurements and such. This is a brief how-to-post.

{You will need}

Eyeglass case
Fabric of your choice for outside and inside the case
Mod Podge
Sponge Brush
Ribbon to hide the hinge area
Fabric glue (or glue gun)

{How to}

1. Cut fabric for the inside and outside of the case. For outer fabric, make sure that you have enough to cover the whole thing and tuck inside the case. For inner fabric, cut the edges with pinking shears to prevent fraying.

2. It is helpful to use a small dish and such to trace the curve and cut the corners.
Also, fold the fabric horizontally in the middle, cut into about an inch or so from both sides to make it easier to hold the fabric in around the hinges.

3. Spread the mod podge onto the case evenly and carefully place the fabric. Make sure there are no air bubbles. Then attach the inner fabric in the same manner too.


4. I pasted small ribbons around the hinges area to hide the "ugly" part that I couldn't get quite right. If you don't need it, you can skip this part.

5. Make a small pincushion. All you need to do is measure the inside of the case and decide how big you want the pincushion to be. Don't forget to add an inch or so to the measurement, when you stuff it, the length and width will "shrink" (because it gets puffy). Glue the pincushion inside of the case.


That's how I made this sewing kit case.

Do you wanna see the inside?

I didn't have any plan when I was making this. I just went with the flow. If I am going to make this again, I think I will try to pay more close attention to the hinge area. You don't want fabric to get bulged up around that area, because the case won't close all the way. I had to redo it a couple times. Keep that in mind, but it is a fairly fun and easy project, not to mention very cheap too! :)

Monday, December 10, 2012

Shoes Makeover

Sorry for the ugly picture to start this post folks...BUT this is a post about shoes makeover. These were one of my favorite shoes for a couple years. It is easy to wear, has a little bit of a heel to give me an extra inch, and it went with almost every outfit I have.

Though, it is showing its age, the structure is still fine but the leather looks awful now. They definitely have seen better days.

I always wanted to try spray painting shoes. So I did some looking around and found that spray paint for leather exists, because I googled it and saw them online, but I didn't see the color I liked. Also, if I have to pay a lot for paint and pay shipping, that kind of defeats the purpose. I have decided I will just use regular spray paint I bought for less than $4 at a local craft store and see what happens.

Here is what I did. I cleaned the shoes with leather cleaner. Then, prepped the shoes by stuffing them with paper, and put tape around the heels, so the paint won't get on those areas. I was out of masking tape, so I just used duct tape instead.

I heard that to do a thin layer of paint multiple times is the best, so I did about 7 coats of spraying, making sure to let it dry between each coat.

Then, this is what happened...

I added bows, to mimic the look of ballet shoes. I love this cheerful color of green!

It has been a few days and I have been wearing it to see if the paint is going to start cracking, but so far it is holding up and they look just fine. I will let you know if there are any problems. In the meantime, I wonder if I have any shoes that I can paint cherry pink...

Saturday, December 8, 2012

Guest Post~ I'm Topsy Turvy

Today, we have a special treat, I mean literally. Ashlee from I'm Topsy Turvy is here to share one of her amazing recipes. I knew Ashlee through blogging but we first met at one of the meet ups. There I found out that she and her family used to live in Japan and she loves the food, people and culture there!

Having something in common and her super friendly personality meant we would easily become good friends.

You might have seen this post on her blog, but it is such a great post, with her permission, I wanted to share it with you all, in case you haven't seen it. Ashlee, take it away!

************************************************************

Hello Tea Rose Home readers! My name is Ashlee and I blog at I'm Topsy Turvy! I'm THRILLED to be posting here today!

Prisbrey_2011_0066

I dabble in a bit of everything. I like to create and craft in multiple mediums, from food to craft supplies and the hardware store. Cakes, Recipes and Parties. Also Sewing, Crocheting, Knitting, and pretty much any craft I can get my hands on! And finally I LOVE to dry wall, paint, tile, use power tools and build things.

craft-trend-inspired-topsy-turvy-cake

The only things I’m NOT into is cleaning (I do like doing laundry, but I don’t like putting it away, my dryer is always full of the latest load…) and exercising! But I’m first and formost a mom (and wife), I have five wonderful children and a wonderfully supportive husband.

vintage-bronze-edged-rose-ruffled-wedding-cake

Today I'm sharing my Sweet Crepe recipe!

sweet-crepes-strawberry-buttermilk-syrup

I first made crepes back in College with a fellow roomie who loves cooking as much as I do! They were AMAZING! BUT I didn't write down the recipe and I couldn't find a recipe that I liked as much after that... until now!

These are SWEET crepes, more dessert than meal, but we didn't let that stop us from enjoying them for our back to school/11 month birthday dinner last week! And I'll be having these for my own birthday breakfast (next week...)

sweet-crepes-cream-cheese-strawberry

Crepes

3 C milk

6 eggs

4 Tbsp butter melted

1 tsp vanilla

2 1/2 C flour

4 Tbsp sugar

pinch of salt

Put everything into a blender and mix until smooth. Refrigerate the batter for an hour to let the bubbles settle and the batter with thicken a bit.

heat a large flat skillet on med high and once it's hot pout 3-4 Tbsp of batter, QUICKLY tilt the pan in a circle to cover the bottom. I cook it for about 40 seconds on each side. Use a spatula to loosen the edge and flip the crepe. It depends on how hot your pan is. I LIKE it cooking fast, I can get through the batch faster that way...

serve right away, or let the crepes cool, stack, refrigerate and serve the next day!

buttermilk-syrup-cooking

Buttermilk Syrup

1 C buttermilk

1 C butter

2 C sugar

1 Tbsp light corn syrup

1 tsp vanilla

1 tsp baking soda

Combine the buttermilk, butter, sugar and syrup in a LARGE sauce pan. bring the mixture to a boil on medium heat and boil for 5 mins, stirring constantly. Remove it from the heat and continue stirring and add the vanilla and baking soda.

buttermilk-syrup-bubbling-up

IMPORTANT- when you add the baking soda the mixture will foam to the top of the pot, continue stirring until the mixture calms down! Allow it to sit for a few minutes before serving! It will end up being a lovely buttery color!

crepes-cream-cheese-filling-strawberry-buttermilk-syrup

Sweet Cream Cheese Crepe Filling

16 oz cream cheese, softened

1 1/2 C powdered sugar

2/3 C sour cream

1 tsp vanilla

Beat the cream cheese then add everything else and blend! Keep extra refrigerated and it will last a few more days!

sweet-crepes-cream-cheese-strawberry-buttermilk-syrup

I like to layer the filling and sweetened strawberries, roll it up, top with the buttermilk syrup and fresh whipped cream (I love my whipped cream charger and use it year round on treats, and in my hot chocolate!)

What about you? What filling would you use? Strawberries? A different fruit? I hear blueberries, and bananas are good (but I don't like either one so I haven't tried it), Nutella seems to be a popular choice as well! Thanks for having me visit!


Thank you Ashlee for a wonderful post! Now my stomach is rumbling; they look so yummy!
Go check out her blog I'm Topsy Turvy for more awesomeness!
Blog Widget by LinkWithin